Every device in your home connects to the internet through your Wi-Fi. If it’s not properly secured, it’s like leaving a digital window wide open. Whether it’s neighbors leeching off your bandwidth, or hackers targeting your devices and data, an unsecured network can cost you speed, safety, and peace of mind. The good news? You don’t need to be a tech expert or spend hours digging through confusing menus. It is easy to secure your network. In this guide, you’ll learn how to lock down your Wi-Fi step by step, with simple language and practical tips anyone can follow. Let’s make your network safer right now…
First things First
What You’ll Need Before We Start
- A phone or Laptop
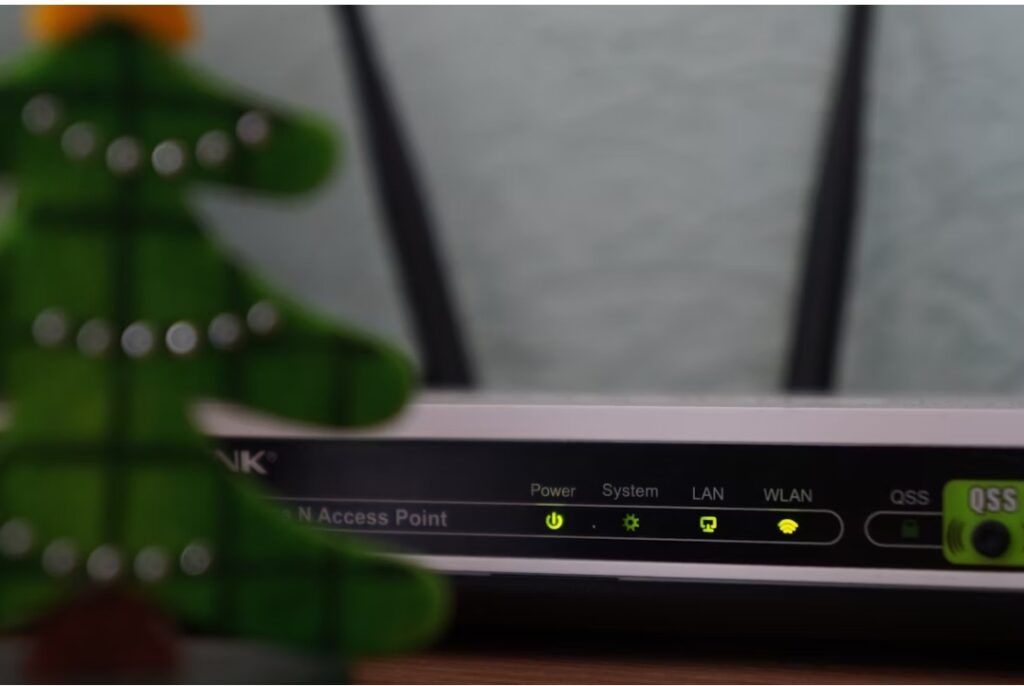
- Your router’s brand/model (usually found on the back or bottom)
- Admin login credentials (often on a sticker on the router or in router manual/handbook )
Pro tip: Bookmark your router settings page. It’ll make life easier next time. Well yes you need it more often than you think.
Step 1: Use WPA3 (or at least WPA2)
Encryption is like the lock on your Wi-Fi. It protects the information flowing between your devices and your router. WPA3 is the most secure encryption standard currently available. If your router doesn’t support it, the next best option is WPA2, which is still widely trusted.
Here’s how to check and change your encryption setting:
- Open your browser and enter your router’s IP address
- Log in using your admin credentials
- Navigate to Wireless Settings → Security
- Select WPA3 (or WPA2 if WPA3 isn’t listed)
And yes this is very important. Older protocols like WEP and WPA are outdated and can be hacked in minutes. WPA3 uses advanced cryptographic techniques that make it much harder for intruders to break in.
Step 2: Change the Default Admin Username & Password
Your router has two sets of credentials:
- One for connecting to Wi-Fi
- One for accessing the settings dashboard
You need to change both. If you’re still using the default login—something like “admin/admin” or “admin/password”—you’re an easy target.
To change it:
- In router settings, go to Administration or System Tools
- Find the password settings
- Choose a strong, unique password that’s easy for you to remember

Step 3: Rename Your Network (SSID) Thoughtfully
The SSID (Service Set Identifier) is simply your Wi-Fi’s name. Routers ship with generic names like “TP-Link_785” or “D-Link1234” that can reveal the make and model of your router. That’s helpful for hackers.
Instead:
- Change the SSID to something unique but not personal (no names, phone numbers, or addresses)
- Use a fun or obscure name like “ThisWiFiaintforYou”
This simple step helps secure your network to a great extent.
Step 4: Create a Guest Network
Having a guest network is like setting up a separate room for visitors to use the network same as yours yet different. It keeps your main network cleaner, faster, and safer.
To enable a guest network:
- Go to Wireless Settings → Guest Network
- Turn it on and set a password
- Enable “client isolation” to prevent guest devices from talking to each other or snooping around.
Another benefit of this setting is that you can connect smart home devices (like Alexa, bulbs, or cameras) here to reduce risks.
Step 5: Keep Firmware Updated
Firmware is the software inside your router—it controls how it works, just like iOS or Android does for your phone.
Over time, vulnerabilities get discovered and patched through firmware updates. So it’s an essential to secure your network. If you’re not updating, you’re exposed.
How to update:
- In your router settings, go to System Tools → Firmware Update (or similar)
- Click “Check for Updates
- ”If available, follow on-screen instructions (don’t unplug during the update)
Some modern routers have an auto update feature to save you the hassle. But if your router doesn’t then it’s never a bad idea to set reminders.
Step 6: Disable Remote Management
Unless you regularly manage your router from outside your home, you don’t need remote access enabled. It creates an entry point for hackers.
This is one of the most vulnerable points most people seem to miss.
To disable:
- Go to Administration → Remote Management (or Remote Access)
- Turn it off
Step 7: Enable Firewall & Turn Off WPS
Your router’s built-in firewall helps filter out unwanted traffic. Its like a filter to secure your network. WPS (Wi-Fi Protected Setup), while convenient for connecting devices with a button press, is notoriously easy to exploit.
To lock these down:
- Go to Security Settings or Advanced Settings
- Make sure the Firewall is turned on
- Find and disable WPS (Wi-Fi Protected Setup)
Wrapping It Up Simply
You don’t need to install fancy apps or get a new router to stay safe. Just taking these basic steps protects your privacy, speeds up your network, and gives you control over who’s using your bandwidth.
Next time your Zoom call doesn’t glitch, or your data isn’t mysteriously drained—thank yourself.
Want more no-fluff guides like this? Stick around. We make tech make sense.


